About This Recipe
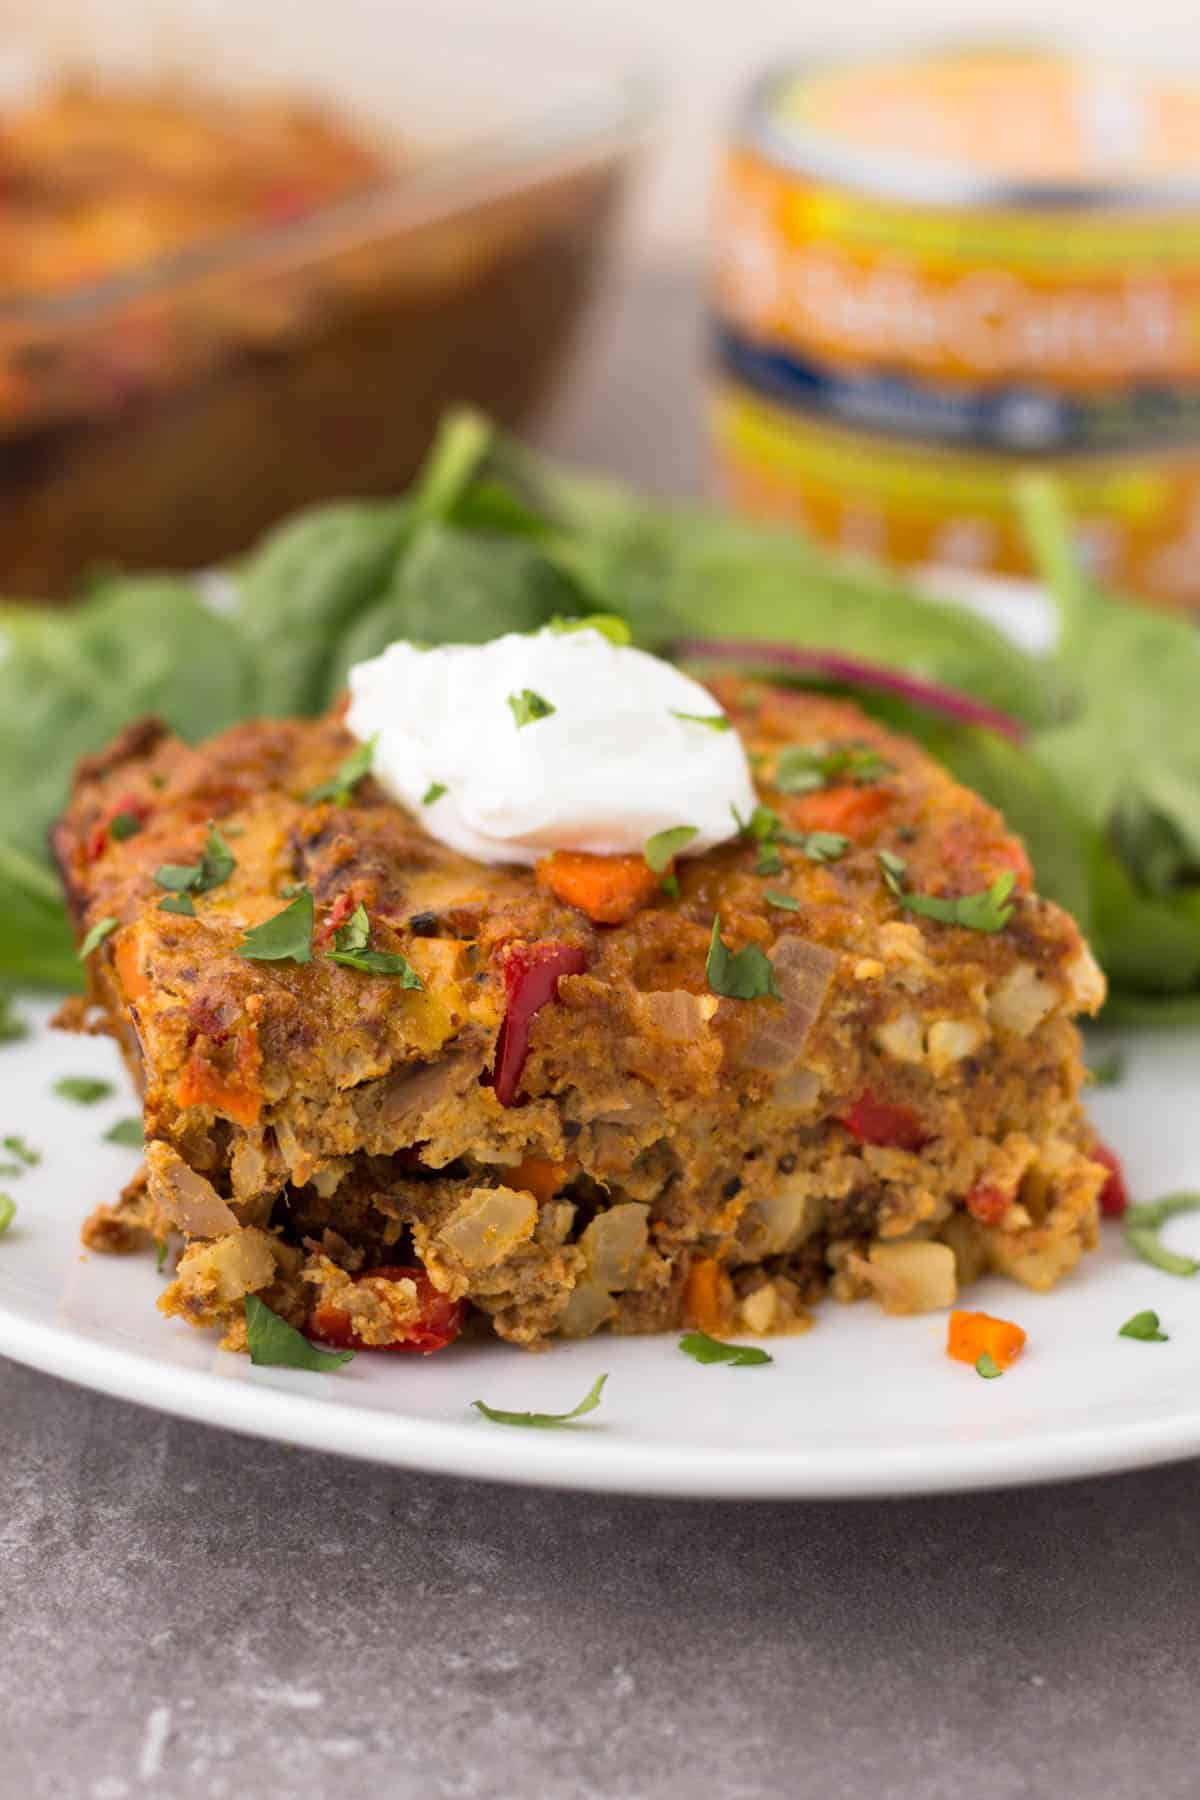
This Tandoori Tuna Casserole packs the flavor and makes an easy and healthy weeknight or meal prep dish that is gluten free, paleo, and Whole30 approved!
Ingredients
- 1/2 cup diced onion (65 grams)
- 2 large carrots, roughly diced (1 cup/144 grams)
- 1 large bell pepper, roughly diced (1 3/4 cups/150 grams)
- 2 cups cauliflower rice (200 grams)
- 1 teaspoon avocado oil
- 1.5 teaspoons garlic powder, divided
- 1 teaspoon coriander, divided
- 1 teaspoon cumin, divided
- 2 cans Tandoori Safe Catch Tuna
- 3 eggs
- 2 tablespoons coconut flour
- 1/4 cup full fat coconut milk (solid part from the top of the can)
- 1/2 teaspoon cinnamon
- 1/2 teaspoon ginger
- 1/2 teaspoon smoked paprika
- 1/4-1/2 teaspoon cayenne pepper
- salt and pepper, to taste
- optional toppings: yogurt, avocado, fresh cilantro
Instructions
- Preheat the oven to 375 degrees Fahrenheit. Spray/grease an 8x6 baking dish (or similar size) with avocado oil and set aside.
- Heat a large non-stick pan over medium heat. Add avocado and let it get hot, about 30 seconds. Once hot, add onion and carrots and sauté for 1-2 mins until softened. Add red pepper, cauliflower rice, 1 teaspoon garlic powder, 1/2 teaspoon coriander, 1/2 teaspoon cumin, and salt and pepper. Cook for another 3-4 minutes, stirring occasionally, until veggies are slightly softened, but still have some firmness.
- Once mixture is done, remove from heat. Add tuna to the pan, including the juices from the can, and mix well.
- In a medium size bowl whisk the eggs. Add coconut flour and whisk to make sure no clumps remain. Add coconut milk, remaining spices, and salt and pepper. Mix well.
- Add tuna mixture to greased baking dish. Add egg mixture and mix until everything is thoroughly combined (I like to use a fork to make sure liquid mixture evenly distributes).
- Bake for 30-35 minutes until browned and cooked through. Let cool for a few minutes and then top with optional toppings.
- Enjoy!
Source: This recipe is from
Kelly.
Used with attribution.
Full original recipe with photos and notes available at the source link.
← Back to all recipes